How to increase the storage space of a Synology NAS with a single disk (DS118/ DS120J)
Increasing the capacity of a Synology NAS that has multiple disks is very easy. Indeed, it is enough to remove a RAID disk, to replace it with a larger capacity disk, to repair the RAID.
This manipulation is to be done as many times as there is disk to change.
Once all the disks have been swapped, it is enough to increase the disk space of the storage group.
How do I do this for a Synology NAS with only one disk such as the DS118, the DS120J or the DS115J?
The only solution I found is to backup the data and programs to an external drive and then import them from the hard drive.
This is done in 3 phases:
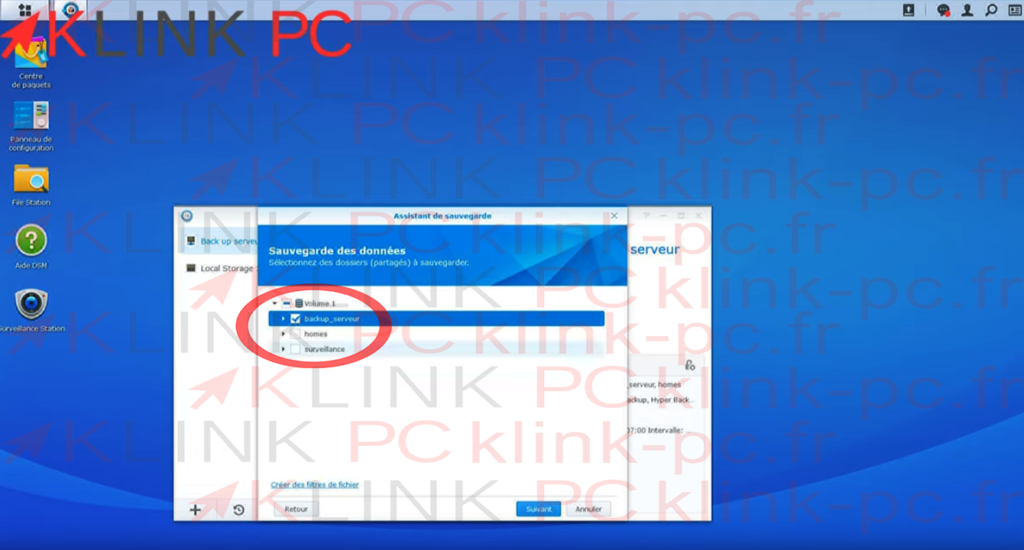
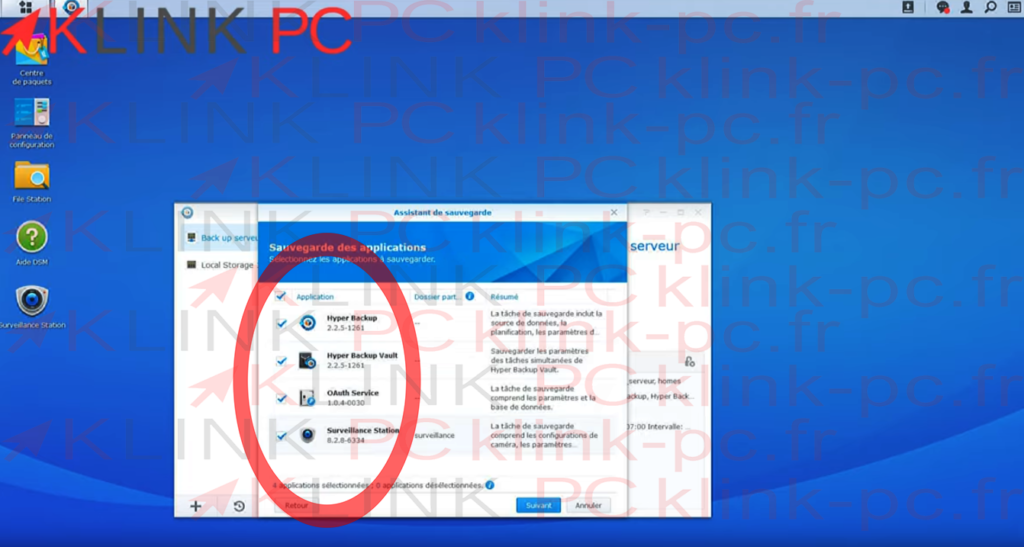
- Backup system data, applications and configuration.
- Remove the hard drive to put the larger capacity one.
- Import data, applications and system configuration.
Sommaire :
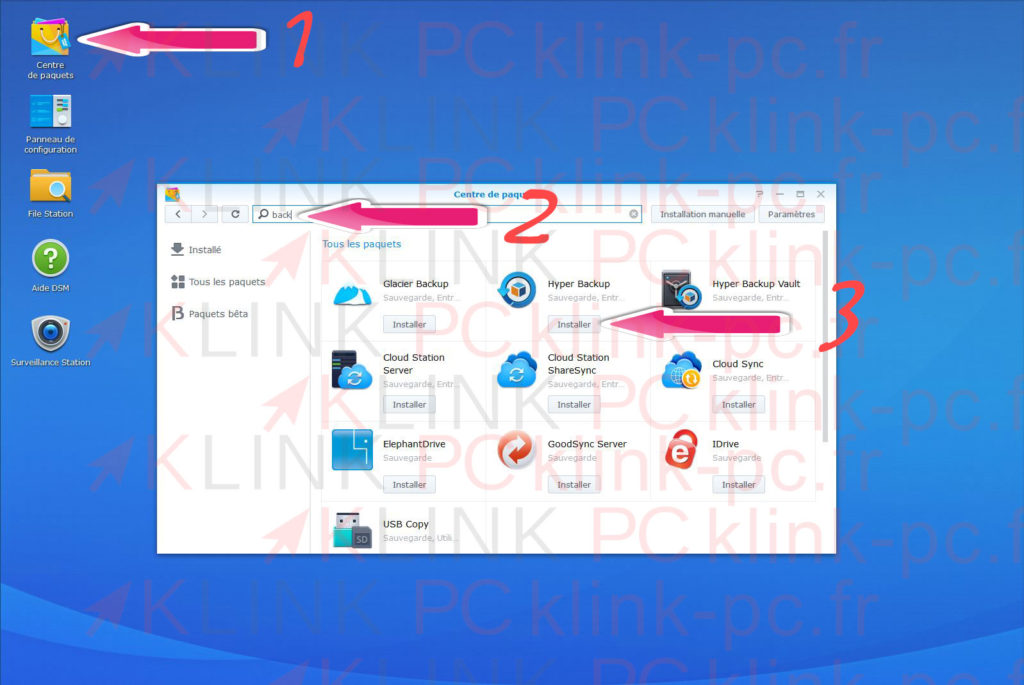
Installing the Hyper Backup application
For the backup, we will use the Synology Hyper Backup application.
On your Synology:
1- Launch the Package Center
2- Type back in the search bar
3- Click on « Install Hyper Backup »
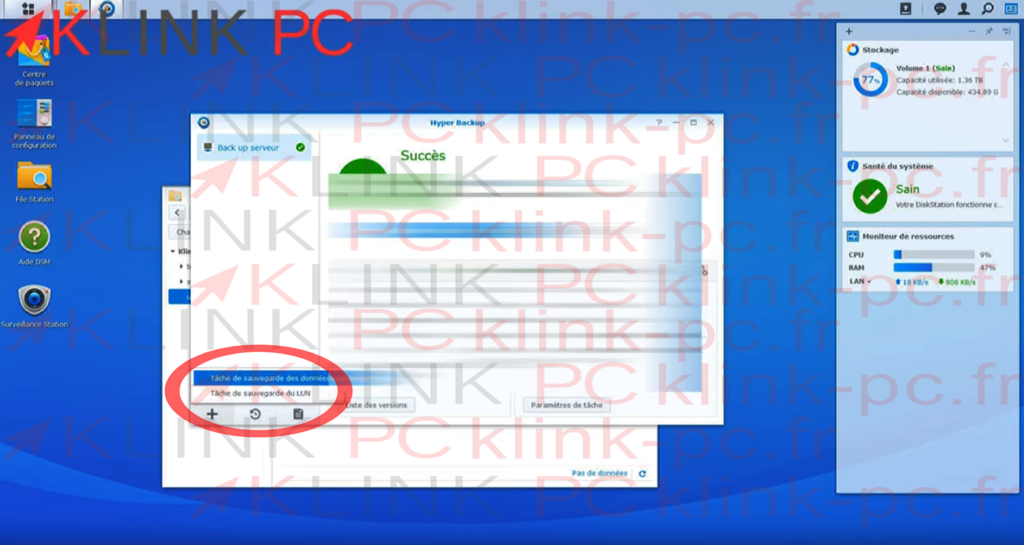
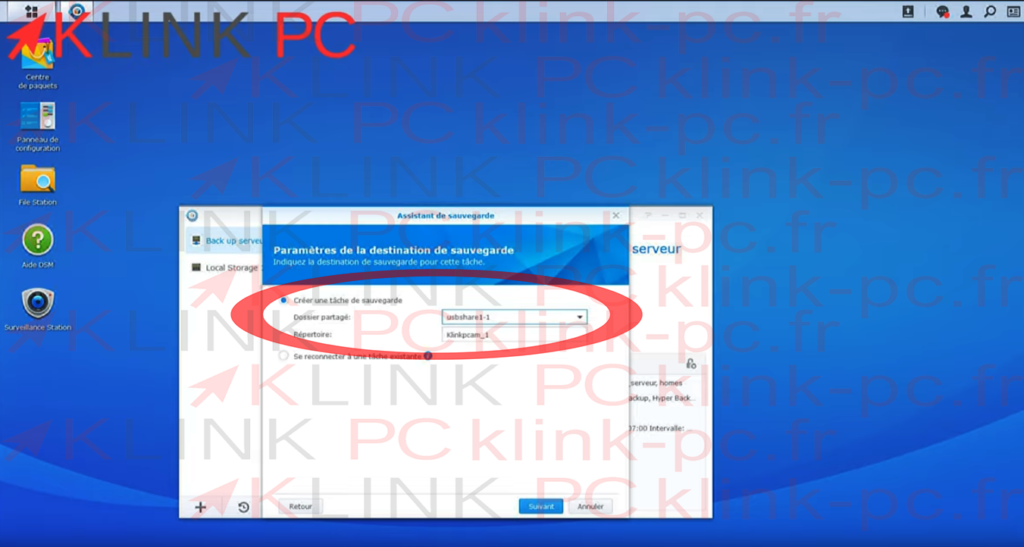
Configuring the Hyper Backup application
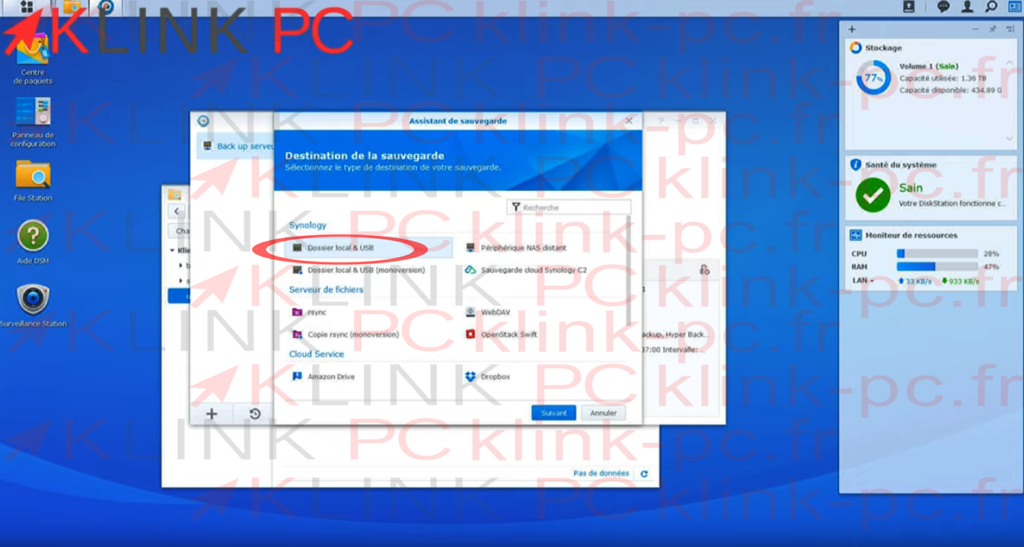
Once Hyper Backup is launched, we will create a data backup task via +
Saving the configuration
During this time, we will search for Update and Restore in the control panel:
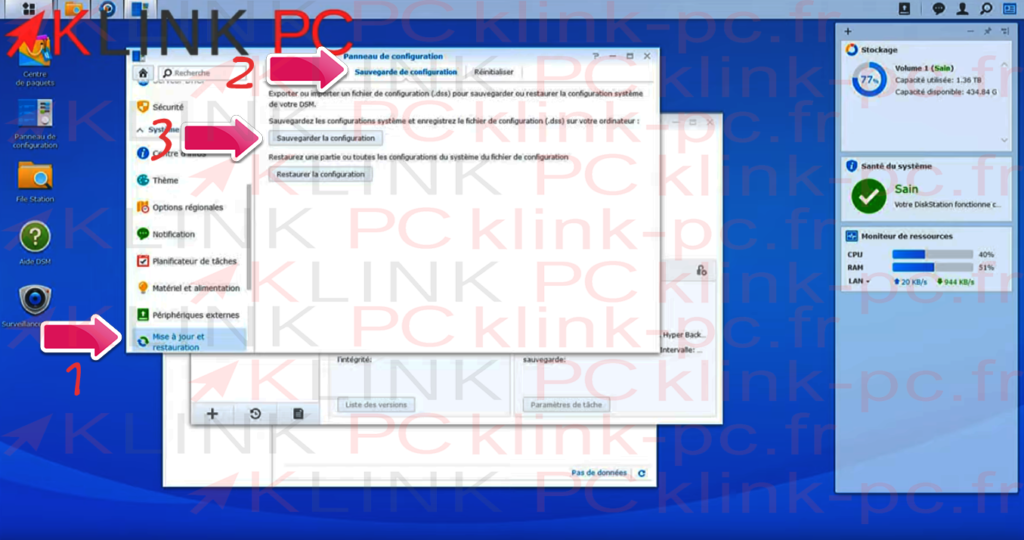
- Select Update and Restore
- Go to the Configuration Backup tab
- Click the Save Configuration button
The advantage of doing this is to keep all users, groups, shared folders, etc.
A backup file will be generated, it is saved on the PC.
Then, all we have to do is wait until the backup is complete.
When we’re done, we’re gonna turn off the NAS and then we’re gonna be on the table swapping hard drives.
Replacing Hard Drives
The backup ended well, we will swap the disks, release the one of 2 TB to replace one of 4 TB:


There is nothing difficult or complicated, we unscrew the old one to screw the new one.
For the rest, we will continue on the PC by fetching the NAS with the downloadable Synology Assistant software in the download center of the official Synology website.
NAS configuration and configuration
Once the new disk is mounted, the NAS is restarted and the Synology Assistant software is launched:
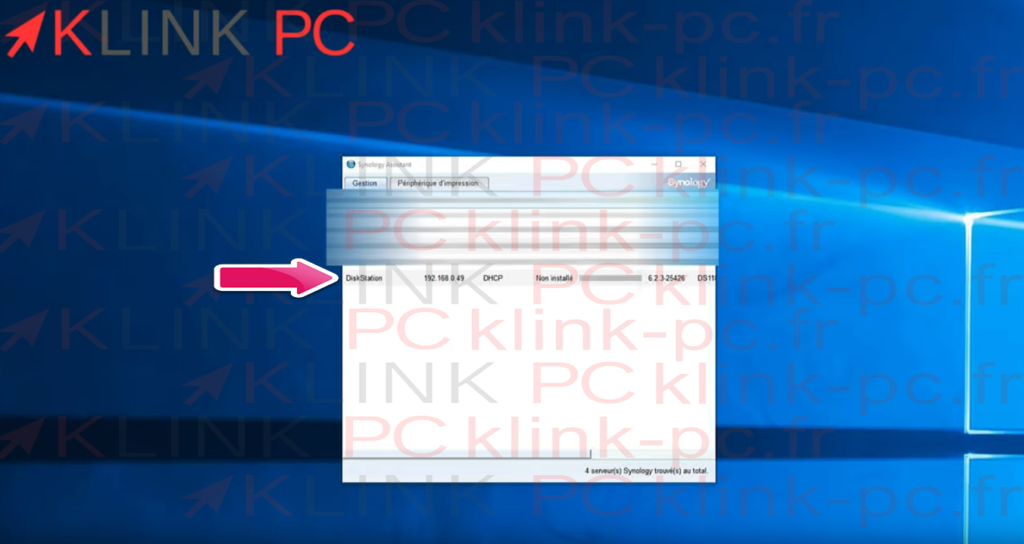
Launch a browser to type in the displayed address and connect to the NAS.
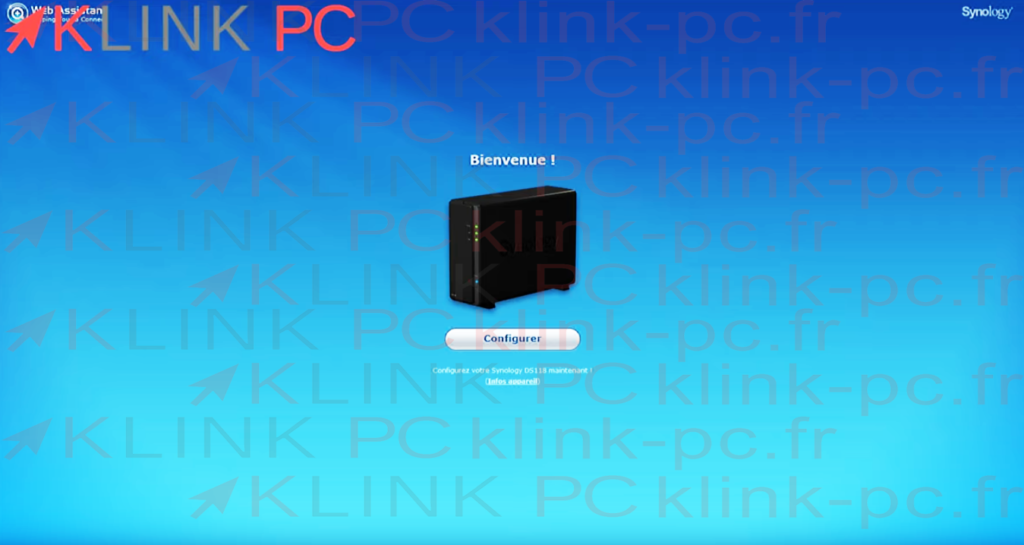
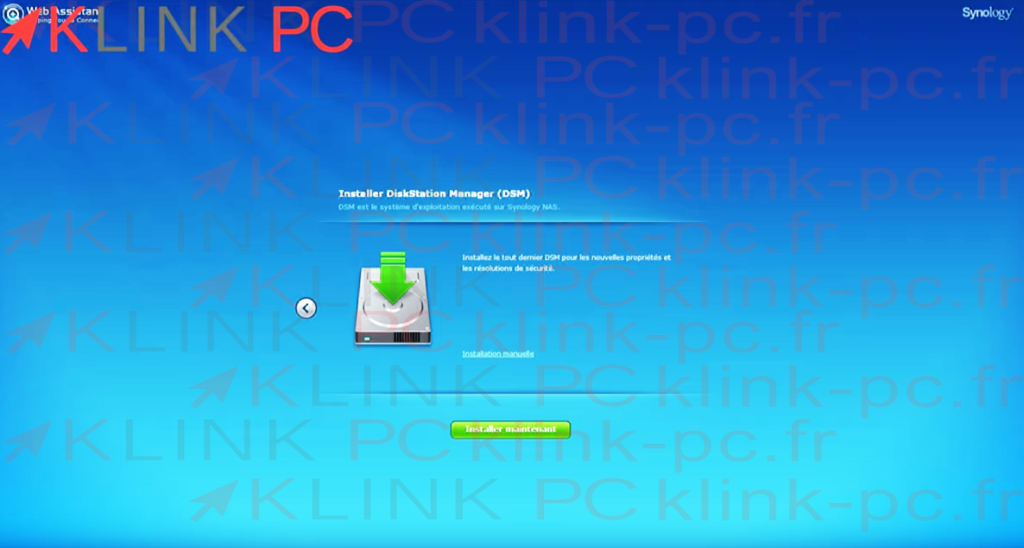
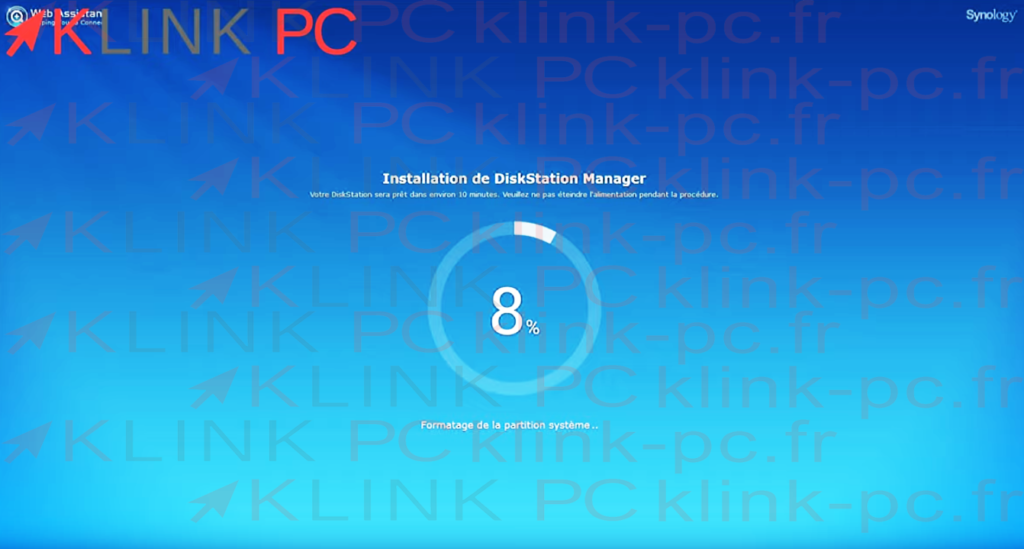
We meet here to configure our DiskStation Manager (DSM) :
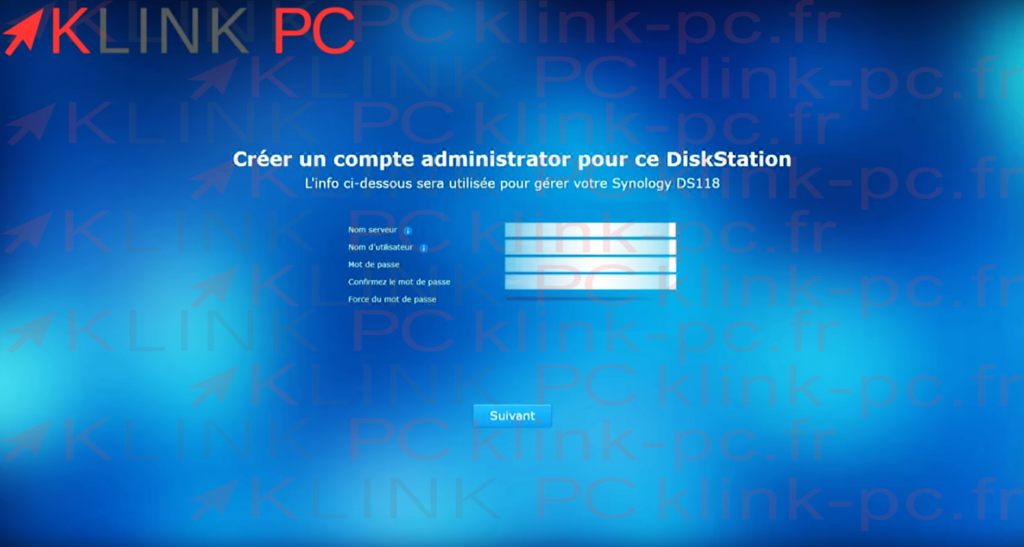
(omit in our demonstration)
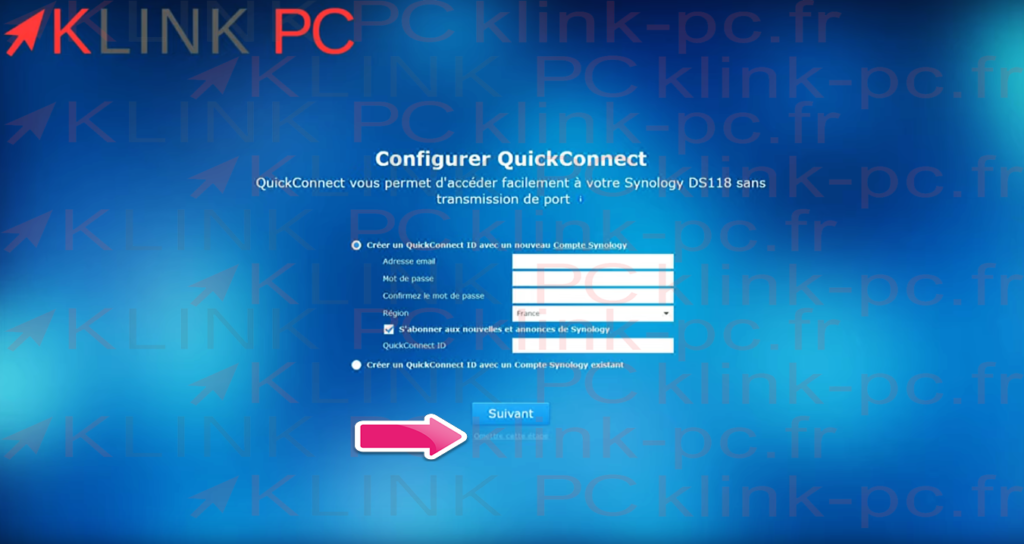
(omit in our demonstration)

Importing the configuration
Here we are on the graphical interface of the NAS, we accept all the conditions of use and we go immediately in the panel of
configuration to import configuration:
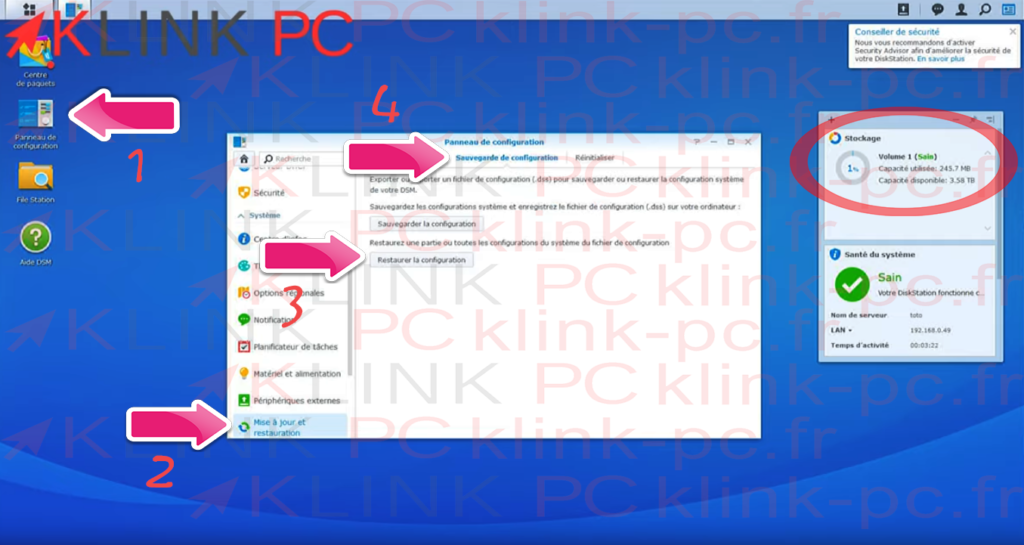
- Control Panel
- Update and Restoration
- Configuration Backup Tab
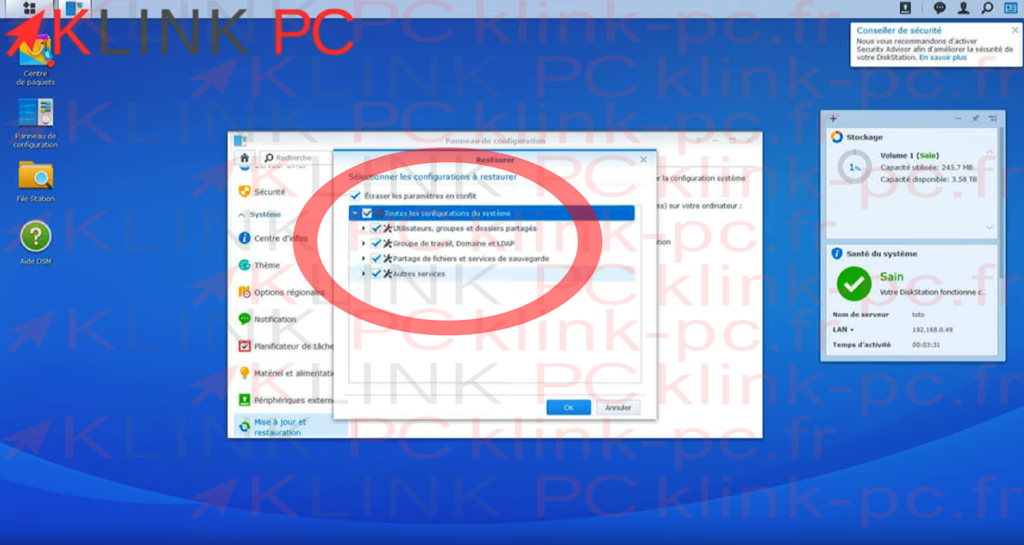
- Restore configuration
- View on NAS storage: 4 TB hard drive is effective
Then, we will look for the downloaded file earlier to import the configuration of the old hard disk:
Data restoration
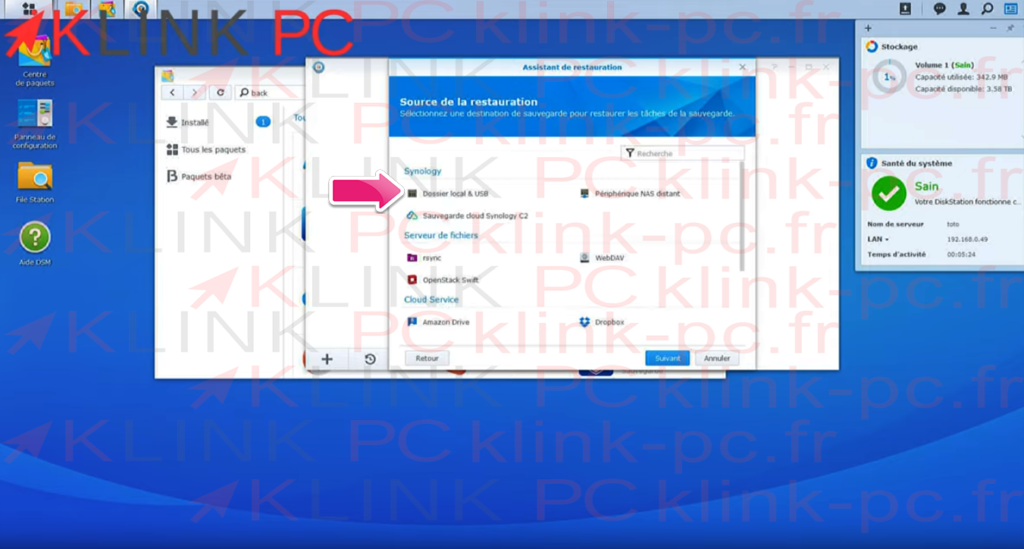
Once the configuration has been restored, you only need to install Hyperbackup to restore the data (see above).
Once installed, it is launched:


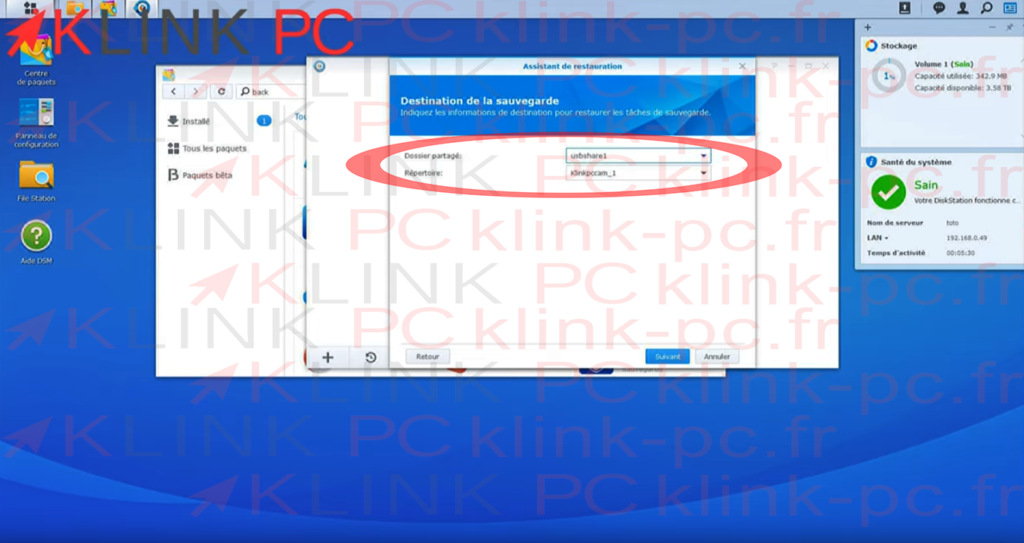
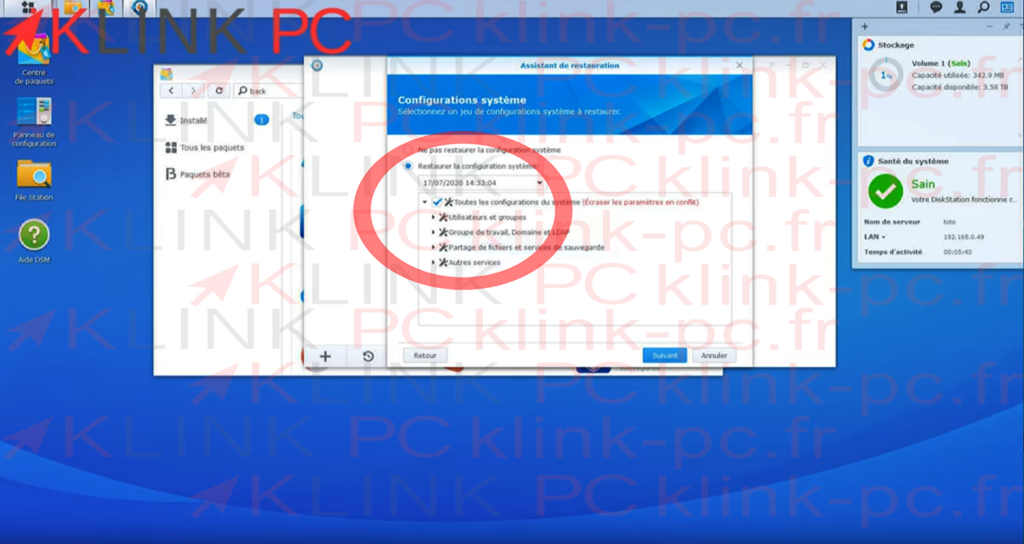
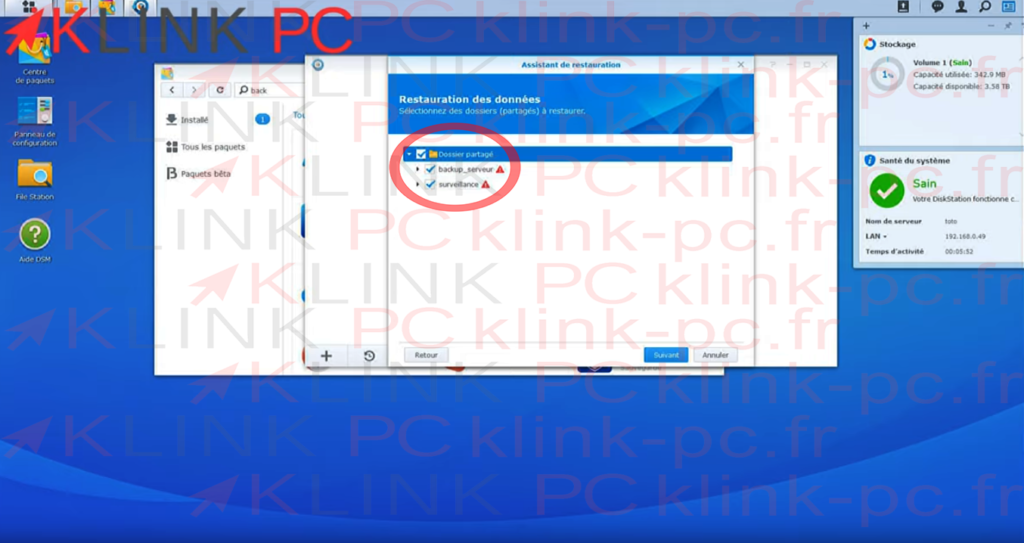
We restore all our applications and apply.
Now, we will wait until the restoration is complete to validate that everything is good:
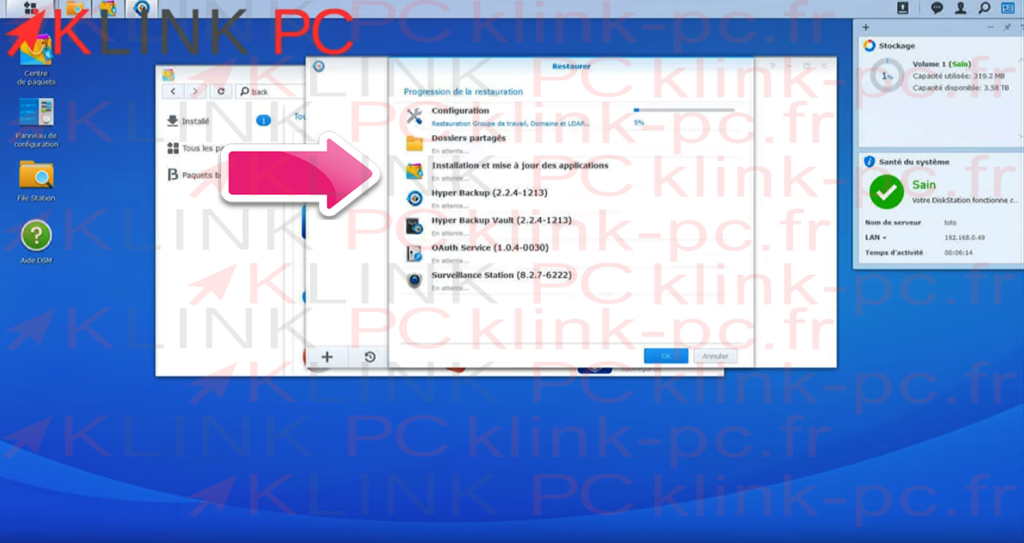
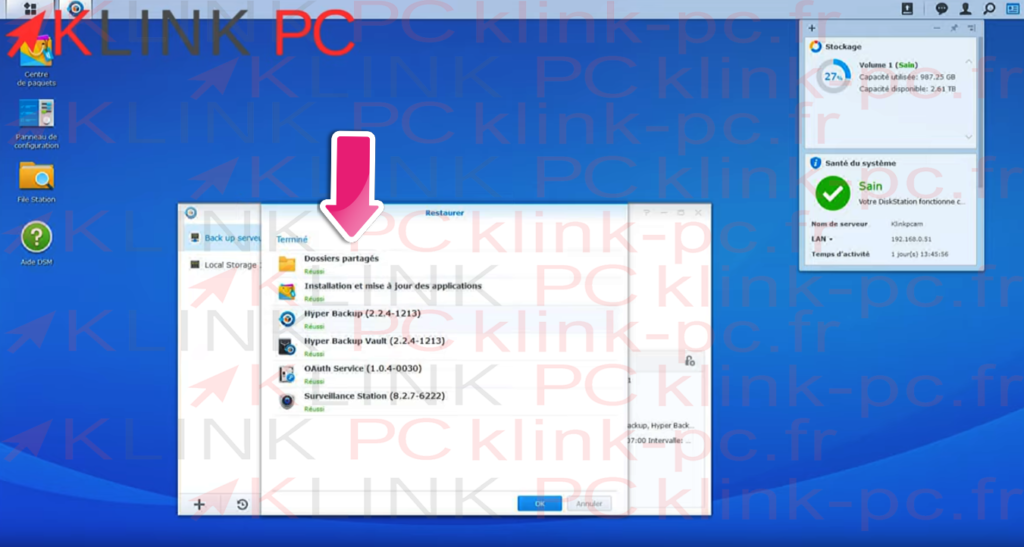
The restoration went well, we see that all the statutes are « successful »:
Conclusion
Attention, after verification, only the network and ftp settings were not transferred.
However, at the application level, the import went well from one disk to another, the licenses were restored.
Now we are on a 4 TB hard drive.
This article is now finished, thank you for reading it and invite you to leave a comment!
See you soon 🙂