How to enable Clipboard History on Windows 10
When you do a lot of copying and pasting, there is nothing more annoying than losing a paper press due to improper handling. Fortunately, Microsoft made up for this with the 1809 update released in November 2018.
1. How to activate it
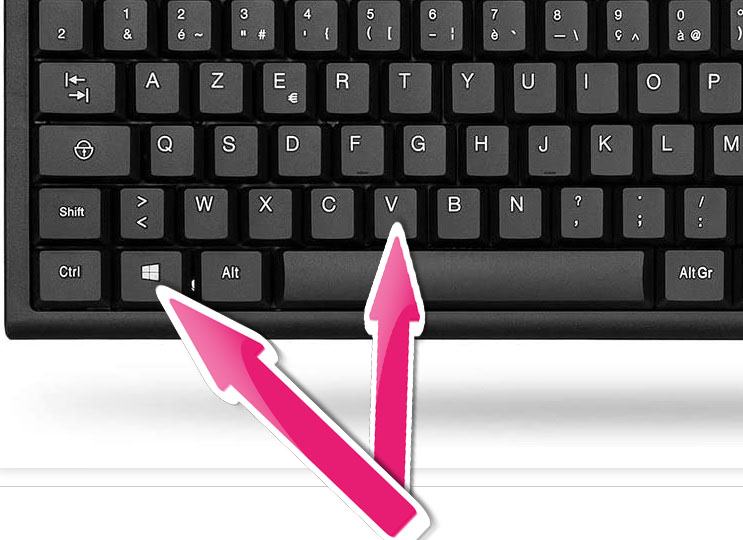
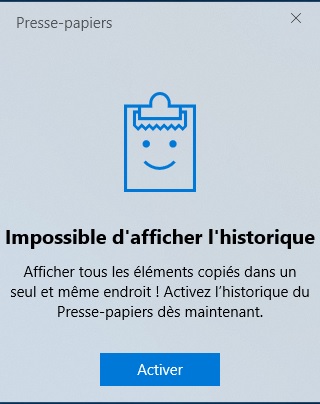
To activate, it is ultra simple. Just make a Windows + V
Then click Activate.
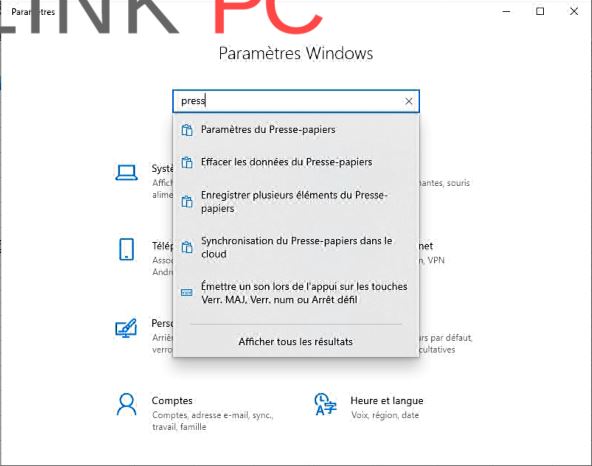
Or passing through the parameters:
2. Operation
The operation is ultra simple, to display the history of the clipboard, just press Windows + V.
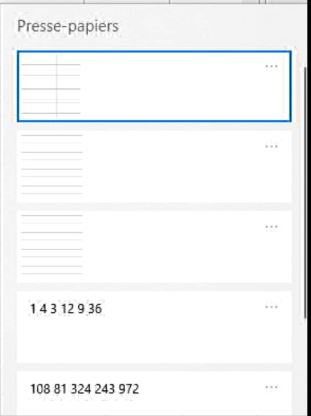
By clicking on the 3 small dots at the top right you have 3 choices Delete (selected paper press), pin the paper press or erase all.
A reboot will erase all clipboard except pinned clipboard.
By logging in with your Microsoft account, you can sync clipboards with other devices.
3. 3 It’s great but…
This option is great but be careful, if you share your workstation with other people, remember to erase everything before leaving the PC.
Je vous remercie d’avoir lu l’article en entier et vous invite à laisser un commentaire si vous avez une question ou simplement aimé.
A bientôt pour un nouvel article 🙂